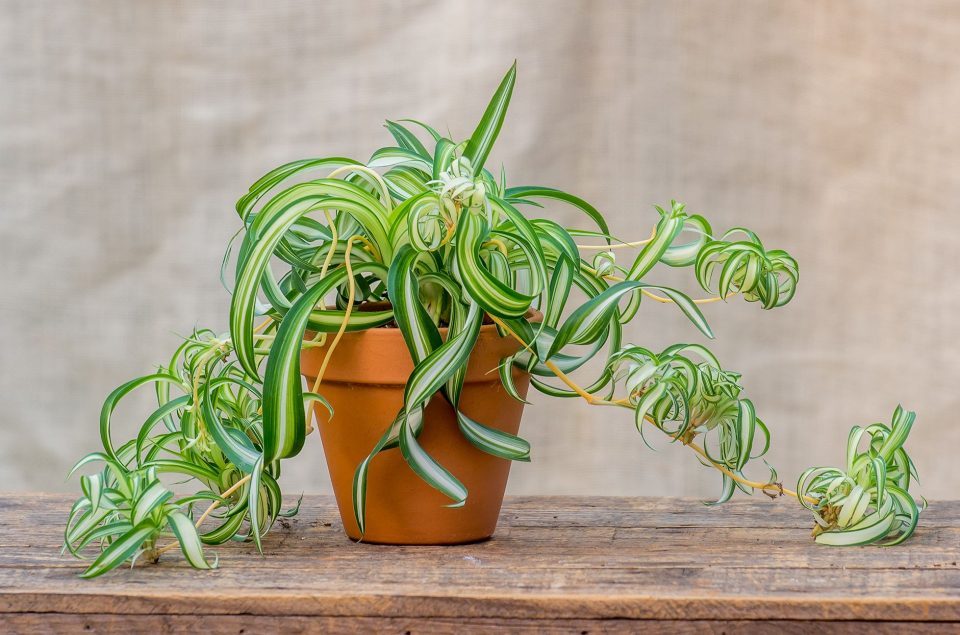
Spider Plant (Chlorophytum comosum) is a beautiful variegated houseplant that is known for its air purifying qualities and ease of maintenance. Taking care of the spider plant is easy, the user needs well-drained soil, indirect sunlight, and moderate watering sessions. If you are able to meet all the requirements, the spider plant will thrive and produce baby plants in the future. To propagate spider plants, the user needs to have a healthy spider plant at home that is only possible if you took care of the plant with caution.
The spider plant is one of the easiest plants to propagate and is best suited for novice gardeners. You can have countless spider plants if you know the correct measures and methods to develop more spider plants. To propagate spider plants all you need to know about some essentials for propagation along with the methods.
Easy Ways To Propagate Spider Plant
To propagate the spider plant you should know from where you should cut the spider plant and how to carefully separate them. Basically, you should cut the spider plant 1-2 cm away from the node. If you see multiple spiderettes (babies), but evenly between the stems. Make sure that the pot you use for cuttings is slightly bigger than the original pot. Also, there should be drainage holes in that pot. Avoid clay pots as they do not allow spider plants to grow roots. Here are some ways by which you can propagate the spider plant quickly.
1. Propagate Spider Plant Cuttings in Water
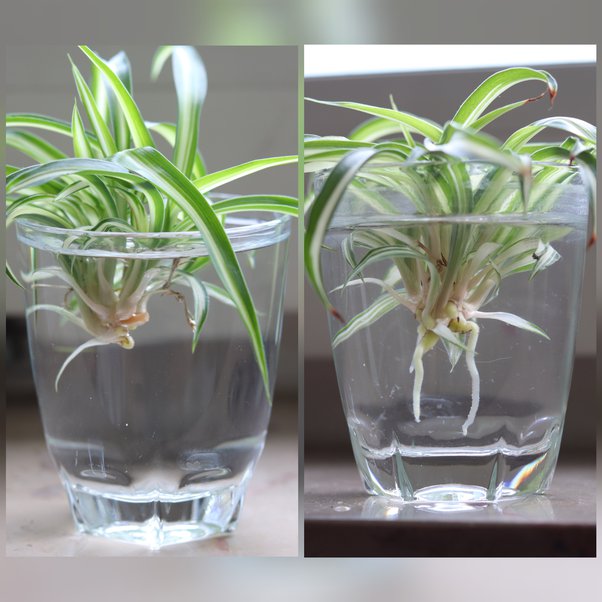
While propagating spider plant in water most people are usually confused about how long it takes to propagate spider plants in water. Propagating spider plants in water allows you to develop the roots at first and then it is placed in the potting soil. It is a little time-consuming process, but at the same time, it is quite easy to do in the water. Try these steps here:
- Step 1: Get a clean jar and fill it with clean water. Let the water sit there for an hour and be at room temperature before putting the cuttings. Till the time get a sanitized knife or scissors.
- Step 2: Gather all your cuttings and remove the spiderettes from the mother plant’s stolon. Start by cutting along the base.
- Step 3: Put the new cutting into the water and place it deep enough that the bottom of spiderette is covered. Don’t let the leaves touch the water.
- Step 4: Place the jar in bright indirect light and wait for some time until it develops roots. Change the water if it seems cloudy. Once new roots are developed take out the plant from the water.
- Step 5: Take a pot with drainage holes and put soilless seed starting mix, add perlite for better drainage, and make a hole with a pencil deep enough to adjust the roots of the new spider plant.
- Step 6: Now, plant the spider plant in a pot, cover the roots with soil, moisten the soil mix, put it under bright indirect light, and give it some time to develop the roots in the soil.
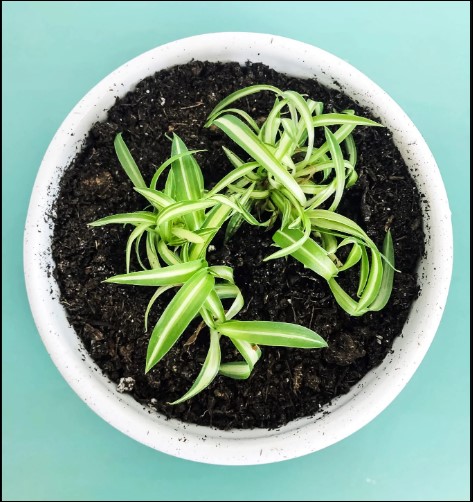
2. Propagate Spider Plant Cuttings in Soil
The potting method is usually the easiest among all propagation methods but sometimes it takes time. To speed up the whole propagation process, the users can take advantage of rooting hormones. Some spider plant babies or spiderette have already developed roots and they hang with the mother plant, but some have still not developed the roots. To propagate spider plant from cuttings, take spiderette from the mother plant and place it in the pot till its roots. Rooting using this method allows your plant to develop stronger roots from the start. Here’s how you should use this method:
- Step 1: Clean your tools like a sharp knife, shears, scissors, or snippers with alcohol to protect the plant cuttings from getting infected.
- Step 2: Separate the spider plant babies carefully with a knife along the stolon of the mother plant. You should carefully cut the spider plant along its base for successful propagation.
- Step 3: Take a pot 4 to 6 inches in diameter with drainage holes and fill it with soilless seed starting mix. Now with a pencil, make a hole in the soil which is wide enough to accommodate the spider plant cuttings.
- Step 4: Place the plant as deep as its roots and cover it with the soil. Moisten the soil and you can dip the bottom of your spiderette into rooting hormone for faster growth.
- Step 5: Now, place the plant in indirect sunlight and give it some time to establish inside the pot and develop more roots.
3. Propagate Spider Plant With Stolon Method
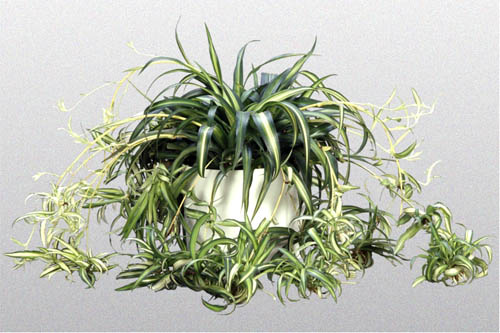
The stolon method is the most akin method where the plant set out new stolons that are covered in the soil. Later the spiderette would root and the stolon would break off and propagates asexually. This is another easy method that does not even require the usage of tools. You can propagate it in the same pot as the mother plant, or you can transplant it into another pot. Here’s how you can propagate:
- Step 1: Fill the pot with soilless seed starting mix and make holes with a pencil that are deep enough to accommodate the tiny roots of spiderettes.
- Step 2: You can plant the new spider plant near the mother plant. Place it in the hole next to the mother plant.
- Step 3: Maintain adequate moisture when the mother plant is nurturing the baby plant and when the baby spider plant shows new growth, cut it away from the mother plant. Now, you have two different spider plants.
Bonus: Division Of The Mother Spider Plant
The Division method is quite easy but you need a mature mother spider plant in order to grow more spider plants. Also, you can plant several cuttings together if you want a bushy spider plant. Here are the simple steps to grow more spider plants through the division method:
- Step 1: To divide the spider plant, gently cut the roots apart in as many sections as you want to por separately. Sometimes, you may need to cut the root ball with a sanitized knife for division.
- Step 2: Put it in their separate pots with the required potting soil medium and keep the soil moist.
- Step 3: Place the pot in bright indirect light and after some time you will see new growth of the spider plant.
Can You Propagate Spider Plant From Leaf Cuttings?
While propagation works with lead cuttings for most plants, the spider plant is not likely to propagate from the leaf cuttings. Spider plants can be propagated once they are matured and start producing spiderettes. There’s no way to propagate spider plants without babies. Be patient, allow your plant to grow, and produce those babies to propagate successfully in the future.
Final Thoughts
All the methods mentioned above are great and you can propagate the spider plant from any of those methods. However, it depends on your personal preferences which one strikes you the most or which way worked for you in the past. Propagate spider plant from root, from cuttings, or simply from the spiderettes of the mother plant and care for the plant until you start witnessing new growth from your baby spider plants.
FAQ
Q1: Which is the best pot to propagate the spider plant?
Take a pot that is 1-2 inches bigger than your current spider plant pot. A plastic pot is perfect as it is flexible and allows roots to grow.
Q2: Can we grow more than one spider plant in a single pot?
Yes, if you want a thick and bushy spider plant, you can plant several spider plants in the same pot.
Q3: Is it better to propagate spider plants in water or directly in soil?
Both methods work but propagation in water is slightly time-consuming whereas propagation in the soil is less time-consuming and more convenient.