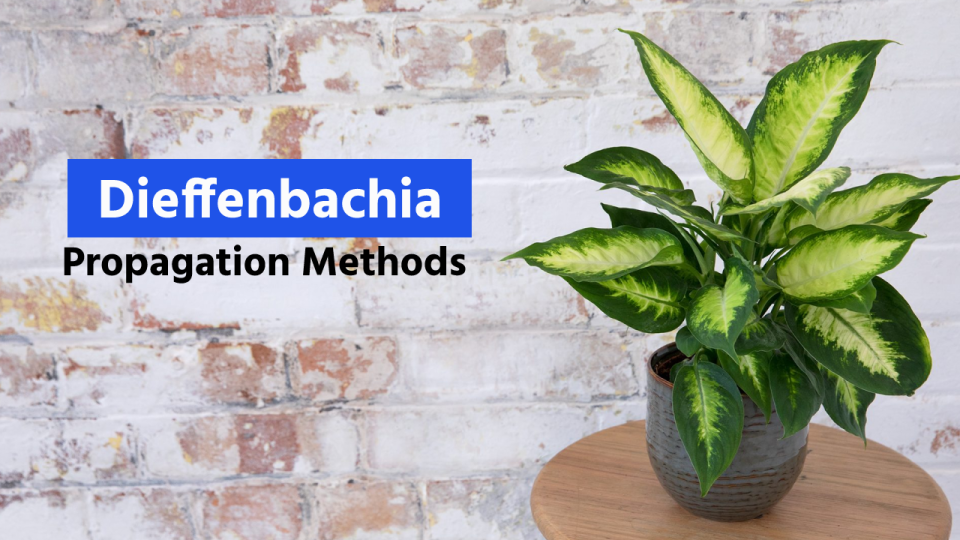
Dieffenbachia is a tropical perennial houseplant that comes in a variety of species. They are adored for their feature pointed, oblong-shaped leaves that combine green, white, and cream colors. In the native tropical conditions that plant can grow up to 10 feet tall, however, when grown indoors, the plant can only thrive up to 3 to 5 feet in height.
Dieffenbachia is a fast-growing plant if nurtured under enough light, water, and soil conditions. If you are looking to add more species to your house, Dieffenbachia propagation is an excellent way to add more beautiful species to your indoor or outdoor garden.
Dieffenbachia is commonly known as the Dumb Cane plant because the leaves and stem of the plant have chemicals or toxins that can cause mouth burns for weeks and inhibits speech. The plant is highly toxic to humans and pets. The sap of juice of the stems can cause skin irritation when it comes in contact with direct skin. So, it is advised to always wear gloves and eyeglasses while cutting or propagating the dieffenbachia plant.
Dieffenbachia Propagation Methods
Dieffenbachia could be an attractive addition to your room or garden that requires little care to thrive and provides a tropical touch to your surroundings. Once you have grown a good and healthy plant in your home, you have more chances of rapidly growing out of the mother plant through the process of dumb cane propagation. Here are some easy methods that could result in successful Dieffenbachia Propagation.
1. Dieffenbachia Propagation From Stem Cuttings In Rooting Medium
- For the sake of preventing bacteria or infection from harming the new cuttings, disinfect and clean your pruning shears before snipping the stems.
- Take cuttings from the dieffenbachia plant’s upper, center, or the bottom area. Put on protective gloves and trim the cane at least three to four inches. To enhance your chance of success, remove at least three portions.
- Discard any leaves, then either dry the cuttings overnight or in bright sunlight. After that, immerse them in an effective rooting medium.
- Set up a container with potting soil that is split 50/50 between sand and peat moss. Thoroughly moisten the contents.
- Dieffenbachia clippings should be put into the potting medium horizontally, with the bottom part inserted into the soil while the leaf bud is above the soil.
- For the best root development, keep the potting soil in a warm spot that is about 24 degrees Celsius and well moist.
- To maintain steady soil moisture and humidity levels, you can also wrap the plant cutting with a sheet of plastic. Every time the soil seems dried, start watering the plant.
- Rooting of the stem cuttings will take 4–8 weeks. The cane sections should be transplanted into a sunny area of your yard or a 3-inch pot with quality garden soil.
2. Dieffenbachia Propagation in Water
- Simply pluck the leaves from stem parts that are 4-6 inches in length.
- The dieffenbachia cuttings should be placed in a glass of water once it has been filled. The water can be changed every few days.
- Keep the container in a warm, sunny location away from direct sunlight, which can make the plant shrink. Transfer each cutting into a container filled with peat-based, wet, well-drained potting medium after the new roots have formed in a few weeks.
- Ensure that you transfer the plant as soon as a few roots have emerged. It will be more difficult to transfer the plant if you allow the roots to develop much deeper.
3. Dieffenbachia Propagation by Air Layering
- Examine the plant thoroughly and look for branches that have healthy leaf buds. Pick one and cut a 2-inch-long, upward slice on the stem of it.
- To make sure that the slit segment doesn’t contact the main stem, tuck a tiny toothpick or a piece of wood into the cut region. Sprinkle some rooting medium over the cut area immediately.
- Then, hand-squeeze a handful of sphagnum in water to eliminate any extra moisture. Ensure that it is wet but not pouring.
- Put the moss on top of the dieffenbachia stem’s cut surface and tie it with some thread or electrician’s tape.
- Placing a layer of polyethylene fabric over the moss will allow you to completely enclose it while ensuring there are no air spaces between both the film and the moss.
- The roots at the wounded segment will begin to spread in a few days. You’ll soon notice roots emerging from the moss.
- Gently remove the polyethylene sheet once you see sprouting. Remove the freshly rooted offshoot from the mother stem using a sharp blade or knife.
- Place the fresh branch in a container with the best garden soil. Now, wrap the freshly rooted offshoot with another piece of polyethylene sheet to avoid loss of moisture.
- Now, when you see the roots are properly visible, remove the sheet of polyethylene and put your plant in a bright spot with good indirect sunlight.
The easy-to-grow and unique-looking plant have the ability to charm the whole surroundings with a tropical touch. The striking patterns of the leaves pose a great statement and most plant owners focus on growing those lovely leaves. However, like every other plant you need to take care of the plant with enough water, light, temperature, and soil requirements. While planting indoors, make sure you keep it out of reach of the children and pets as it is toxic and can have after-effects both internally and externally.
The owner has the option to propagate Dieffenbachia from leaf, dieffenbachia rooting in water, and propagation through air layering. Dieffenbachia pups can be easily grown through either of the methods with a good success rate. Now, it is your choice to choose the method to propagate dieffenbachia plant.
Frequently Asked Questions
Q1: Is Dieffenbachia a good plant for indoors?
Yes, the tropical plant is good to be potted indoors where it receives bright indirect light.
Q2: How to keep your Dieffenbachia plant alive for years?
Make sure that the soil is not over moist, water only when the top 2 inches feel dry, and keep it in a bright but indirect shade for good growth.
Q3: What are the main causes of drooping leaves and yellow leaves in the Dieffenbachia plant?
Drooping leaves are seen when the plant is getting too much sunlight and yellow leaves occur when the plant is either underwatered or overwatered.